Capturing Light on Water: Oil Painting Techniques
Discover the layering and glazing methods that bring Atlantic seascapes to life — from initial sketch to finished masterpiece
Why Water Demands Patience
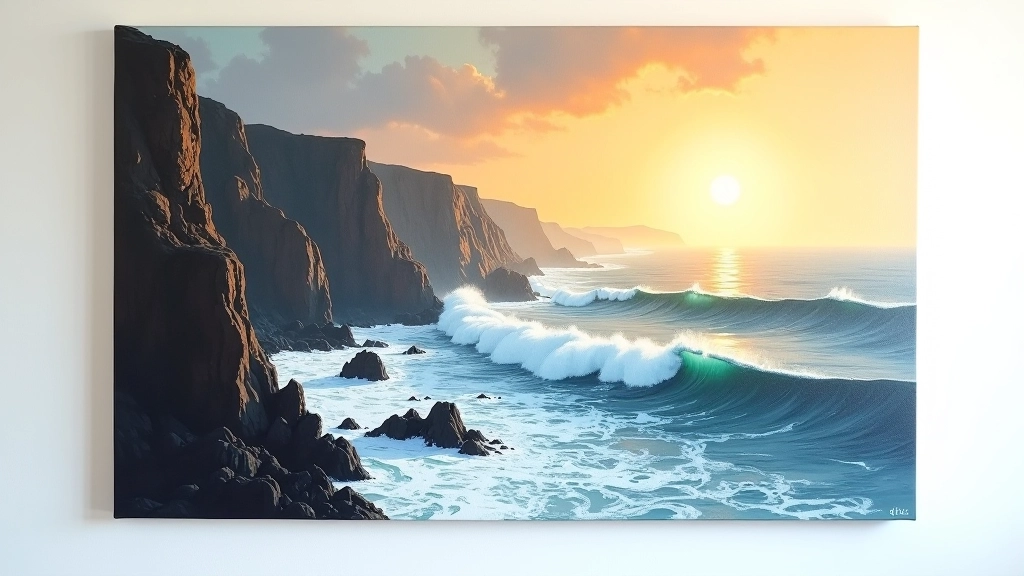
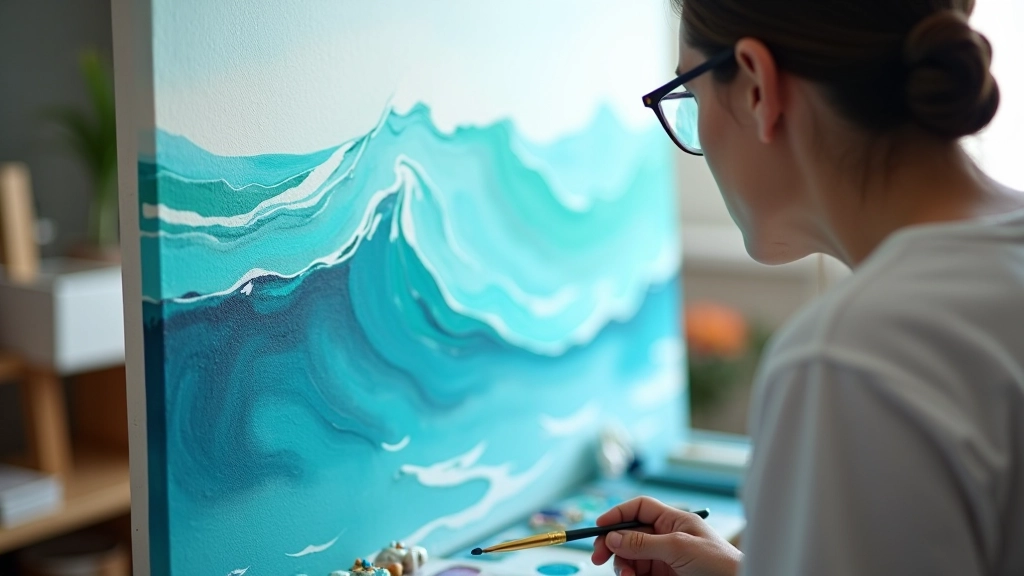
Water's trickiest. It's not really a solid thing you can just paint — it's light, movement, reflection all happening at once. When I first started painting the Atlantic coast here in Portugal, I'd rush the water section. Ended up with something flat and lifeless, like plastic wrap over the canvas. The real breakthrough came when I stopped thinking about painting water and started thinking about painting light bouncing off water. That's the whole technique right there.
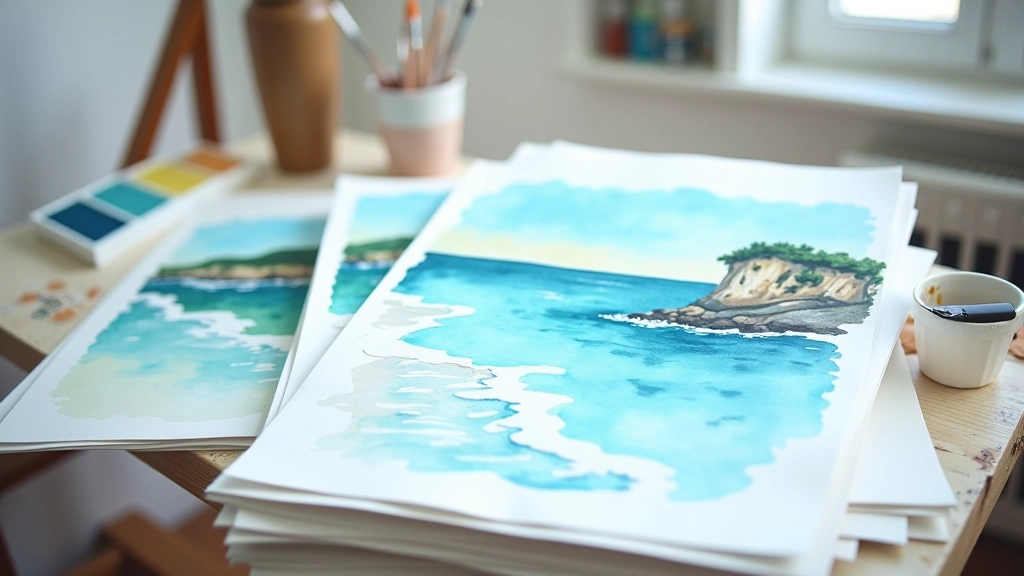
Oil paint's perfect for this because you've got time. Unlike watercolour where everything happens fast, oils let you build layers slowly. You can push paint around, blend it, add glazes on top. Each layer informs the next. And the translucency? Nothing else compares. You'll see colours underneath showing through the top layers, creating depth that feels like the water actually goes down.
The Foundation Layer: Getting Values Right
Everything starts with a proper underpainting. I use burnt sienna and ultramarine mixed to a dark grey — thin, loose, just blocking in where the light hits water and where shadows sit. This layer's about value, not colour. Get the darks dark enough and the lights light enough, and everything else works. Most beginners skip this and jump straight to colour. Don't. That foundation saves you hours later.
After that dries, I'm blocking in the basic colour areas — the horizon line gets a warmer tone, the foreground water slightly cooler. At this stage, it's crude. Edges are rough, colours are loose. That's fine. You're just establishing the space. The painting needs maybe 24 hours for that underpainting to dry properly before the next layer.
Glazing: Building Luminosity
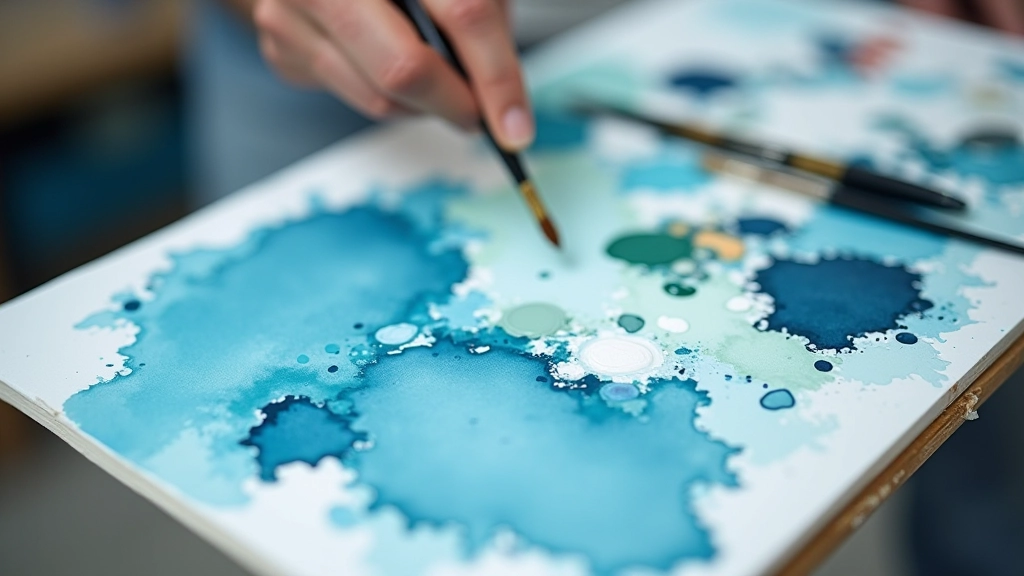
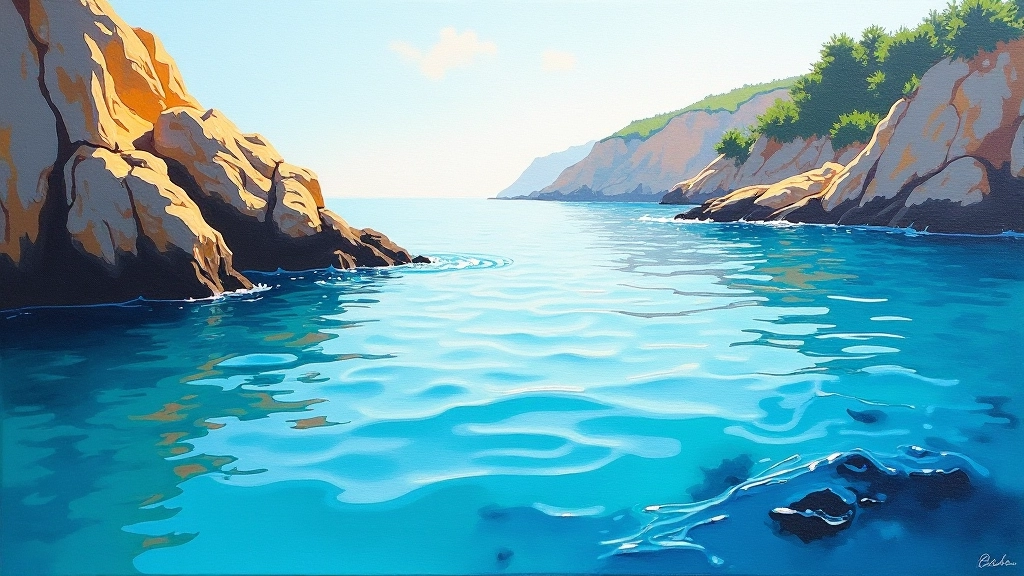
This is where the magic happens. A glaze is just a thin, transparent layer of paint — usually made by mixing colour with medium (linseed oil or a painting medium). You apply it over dried paint beneath. The colour shows through, creating luminosity you can't get any other way. It's like stacking coloured glass on top of each other. Each layer is translucent, but together they create depth and glow.
For water, I'll glaze with thin coats of ultramarine mixed with medium, then transparent oxide red in the shadows, then cerulean in the bright areas. Never opaque. You want to see what's underneath. A single glaze might take 12-24 hours to dry depending on thickness. I usually do 4-5 glazes total, which means the painting's sitting for weeks. But the result? The water looks like it's actually glowing from within.
The Step-by-Step Process
01
Sketch & Underpainting
Charcoal sketch on canvas, then thin monochrome underpainting with burnt sienna and ultramarine. Block values only. Let dry 24 hours.
02
Colour Blocking
Loose colour areas — sky, water, land masses. Use thicker paint here but still soft edges. Establish the mood and light direction.
03
Detail & Texture
Add wave details, rock texture, sky variations. Use thicker paint (impasto) for highlights. Still working opaque at this stage. Dry 24-48 hours.
04
Glazing Layers
Apply 4-5 transparent glazes over the dry paint, building luminosity and depth. Each glaze dries 12-24 hours before the next.
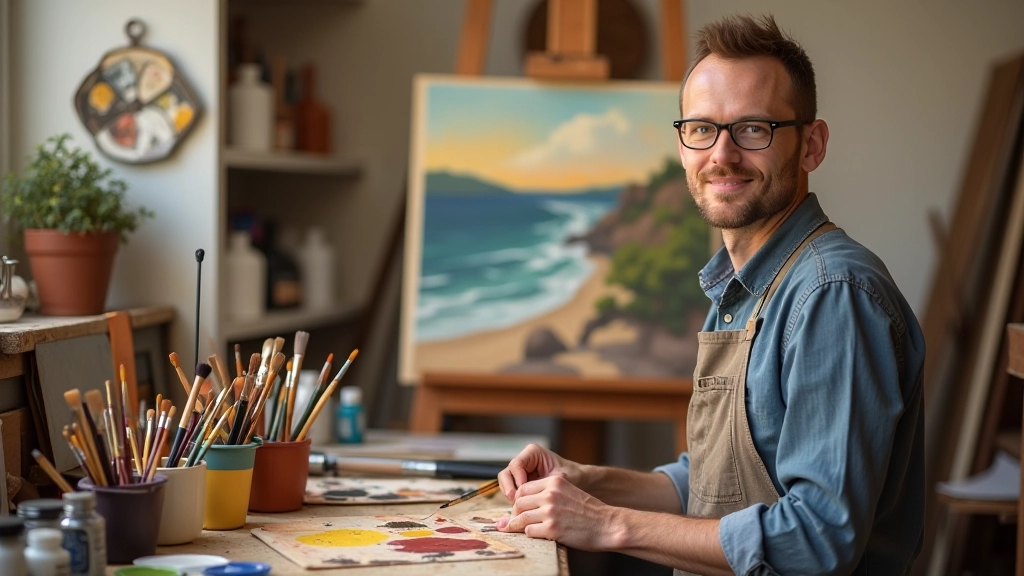
Materials That Actually Matter
You don't need expensive gear to start, but you do need quality paint. Student-grade oils have less pigment, so colours are muddy. Professional-grade costs more upfront but you use less because the colour's stronger. For water, I rely on ultramarine, cerulean, transparent oxide red, and titanium white. Those four colours, mixed properly, create almost every water tone you'll encounter.
Brushes? I use synthetic bristle for blocking, natural hair for detail work. The bristle stiffness matters — stiffer for texture, softer for blending. Medium's crucial too. I mix linseed oil with a bit of turpentine for initial layers, then switch to pure linseed for glazes. The ratio changes what the paint does. More medium means thinner, more transparent. Less means thicker, more control.
Pro tip: Don't cheap out on white. Titanium white is expensive but essential. It's the only white that won't yellow over time, and you'll use it in almost every layer.
Common Mistakes (And How to Avoid Them)
Painting Water Too Light
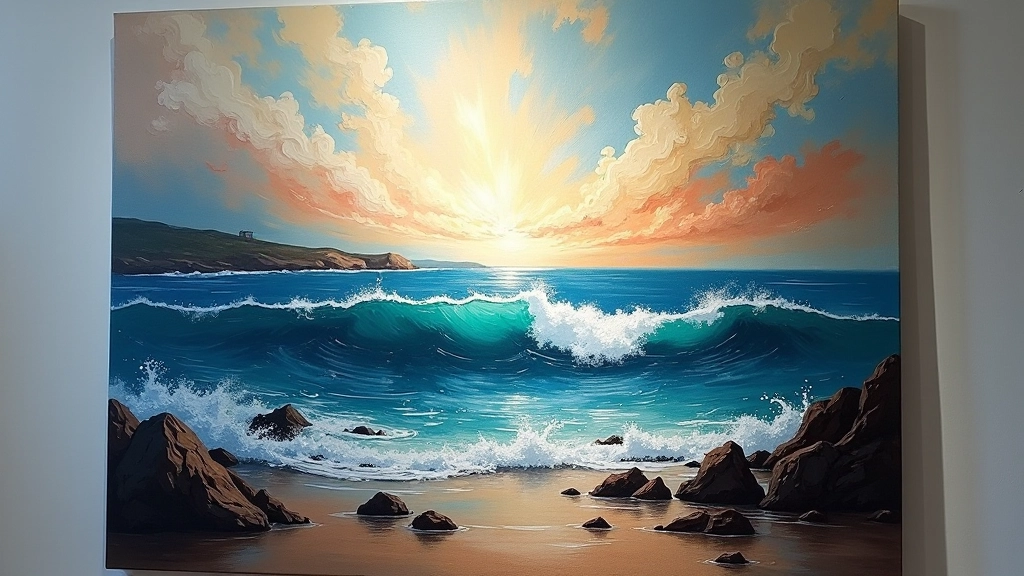
Water isn't pale blue — it's dark where it's deep, light where light hits it. Push your darks darker. The contrast creates dimension.
Overblending
Oil paint doesn't need to be perfectly smooth. Rough edges, visible brushwork, and texture create energy. Stop blending before you think you should.
Skipping the Underpainting
This saves hours and prevents muddy colour later. Spend time getting values right before touching colour.
Using Too Much Medium
More medium means thinner paint. Thin paint slides around, doesn't hold detail. Use medium sparingly, especially in early layers.
The Real Technique Is Patience
Here's what I've learned painting the Atlantic for years: technique matters, but patience matters more. Oil painting seascapes isn't fast. It's measured, deliberate, layer by layer. You'll spend weeks on a single painting. The underpainting, the blocking, the glazing — it all takes time. But that's the point. You're not just applying paint. You're building something that'll look better in 20 years than it does when you finish it.
The light reflecting off water is complex. It's warm and cool, opaque and transparent, moving constantly. Oil paint's the only medium that truly captures that complexity. You layer transparent glazes over opaque forms. You let colours show through from beneath. You build depth that watercolour can't touch.
Start with a solid underpainting. Block your values. Then glaze — slowly, patiently. Don't rush the drying time. Let each layer set properly. And stop overblending. The rough edges and visible brushwork? That's what makes it look alive. That's what makes it look like water.
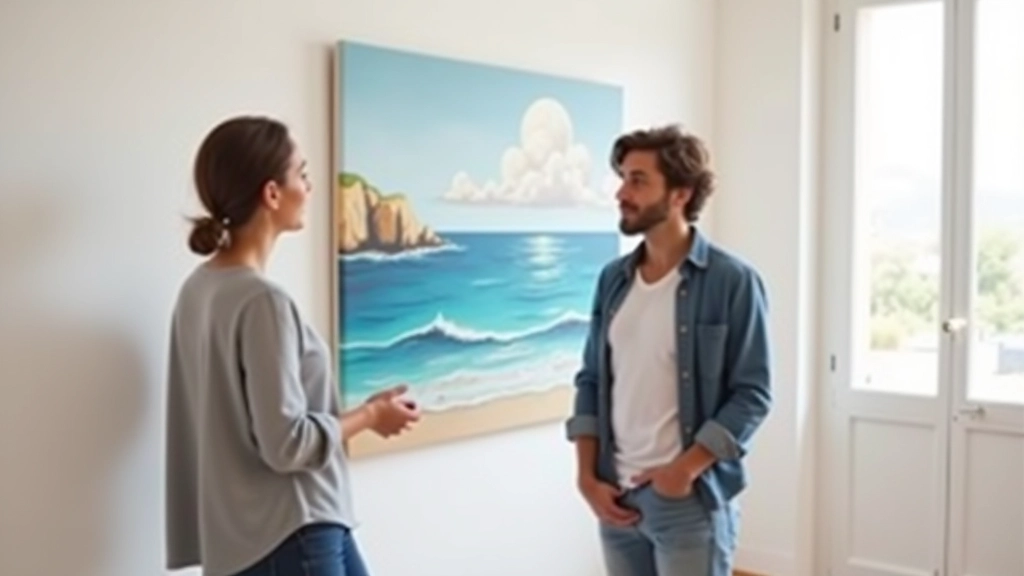
Want to explore commissioned seascape paintings or discuss custom work? Learn about the commission process .
Educational Note
The techniques described here reflect my personal approach to oil painting seascapes. Every artist develops their own methods, and what works for Atlantic coastline painting may vary based on climate, materials, and individual preference. These guidelines are educational in nature — intended to share one approach among many valid techniques in oil painting. Results depend on practice, experimentation, and your specific artistic goals.
Explore More Techniques
Abstract Expression & Emotional Landscapes
Read Article